How to take cuttings
Growing new plants from a cutting of another plant is one of those times when gardening really feels like magic. A little length of stem, severed from its parent, looks completely unprepossessing, and yet a few weeks or months later it has rooted, grown new leaves and branches and turned into a whole new plant…
Perhaps because it feels a little like alchemy, many novice gardeners are scared of taking cuttings and think it is something best left to horticultural experts. But the truth is, sticking a stem in a bit of compost is one of the easiest things you can do!
There is a lot of gardening jargon around “propagation” AKA taking cuttings and this can also seem a bit offputting. What type of cutting you’re taking, what tools to use, what time of day to do it, what time of year? And so on.
If you’re feeling overwhelmed by it all, just remember what my Nan always told me: “The best time to take a cutting is when nobody is looking”!
This pretty much summed up her attitude to gardening: her garden was full of plants ‘acquired’ from walks around the neighbourhood. I remember her breaking off a bit of plant from a front garden on our way to catch a bus in to town, possibly even our local botanical garden!
And while we’re not condoning pinching plants (your friends and neighbours will always be happy to give you a bit for free!), my Nan’s attitude to just grab a bit and have a go is our favourite approach to gardening.
So, if you’re inspired, here’s a really simple (hopefully jargon free!) overview to how to take cuttings.
Why take cuttings?
First of all, why would you do it? The simple answer is to get new plants for free!
If you see a plant in your friend’s garden that you like, you want more of a favourite plant in your own garden, or you’re moving house and want to take some of your plants with you, then taking a stem cutting and letting it grow into a new plant is one of the easiest ways to go about it.
Which plants grow from stem cuttings?
Not all plants will grow into new plants from a stem cutting. It usually works best for perennials, either herbaceous perennials (plants that grow back each year but don’t have a woody structure) or deciduous shrubs (plants that form a woody structure but lose their leaves each year). However, not all perennials will take from a cutting, and it does work for other plants too.
A few easy plants to try are:
Hydrangea
Lavender
Mint
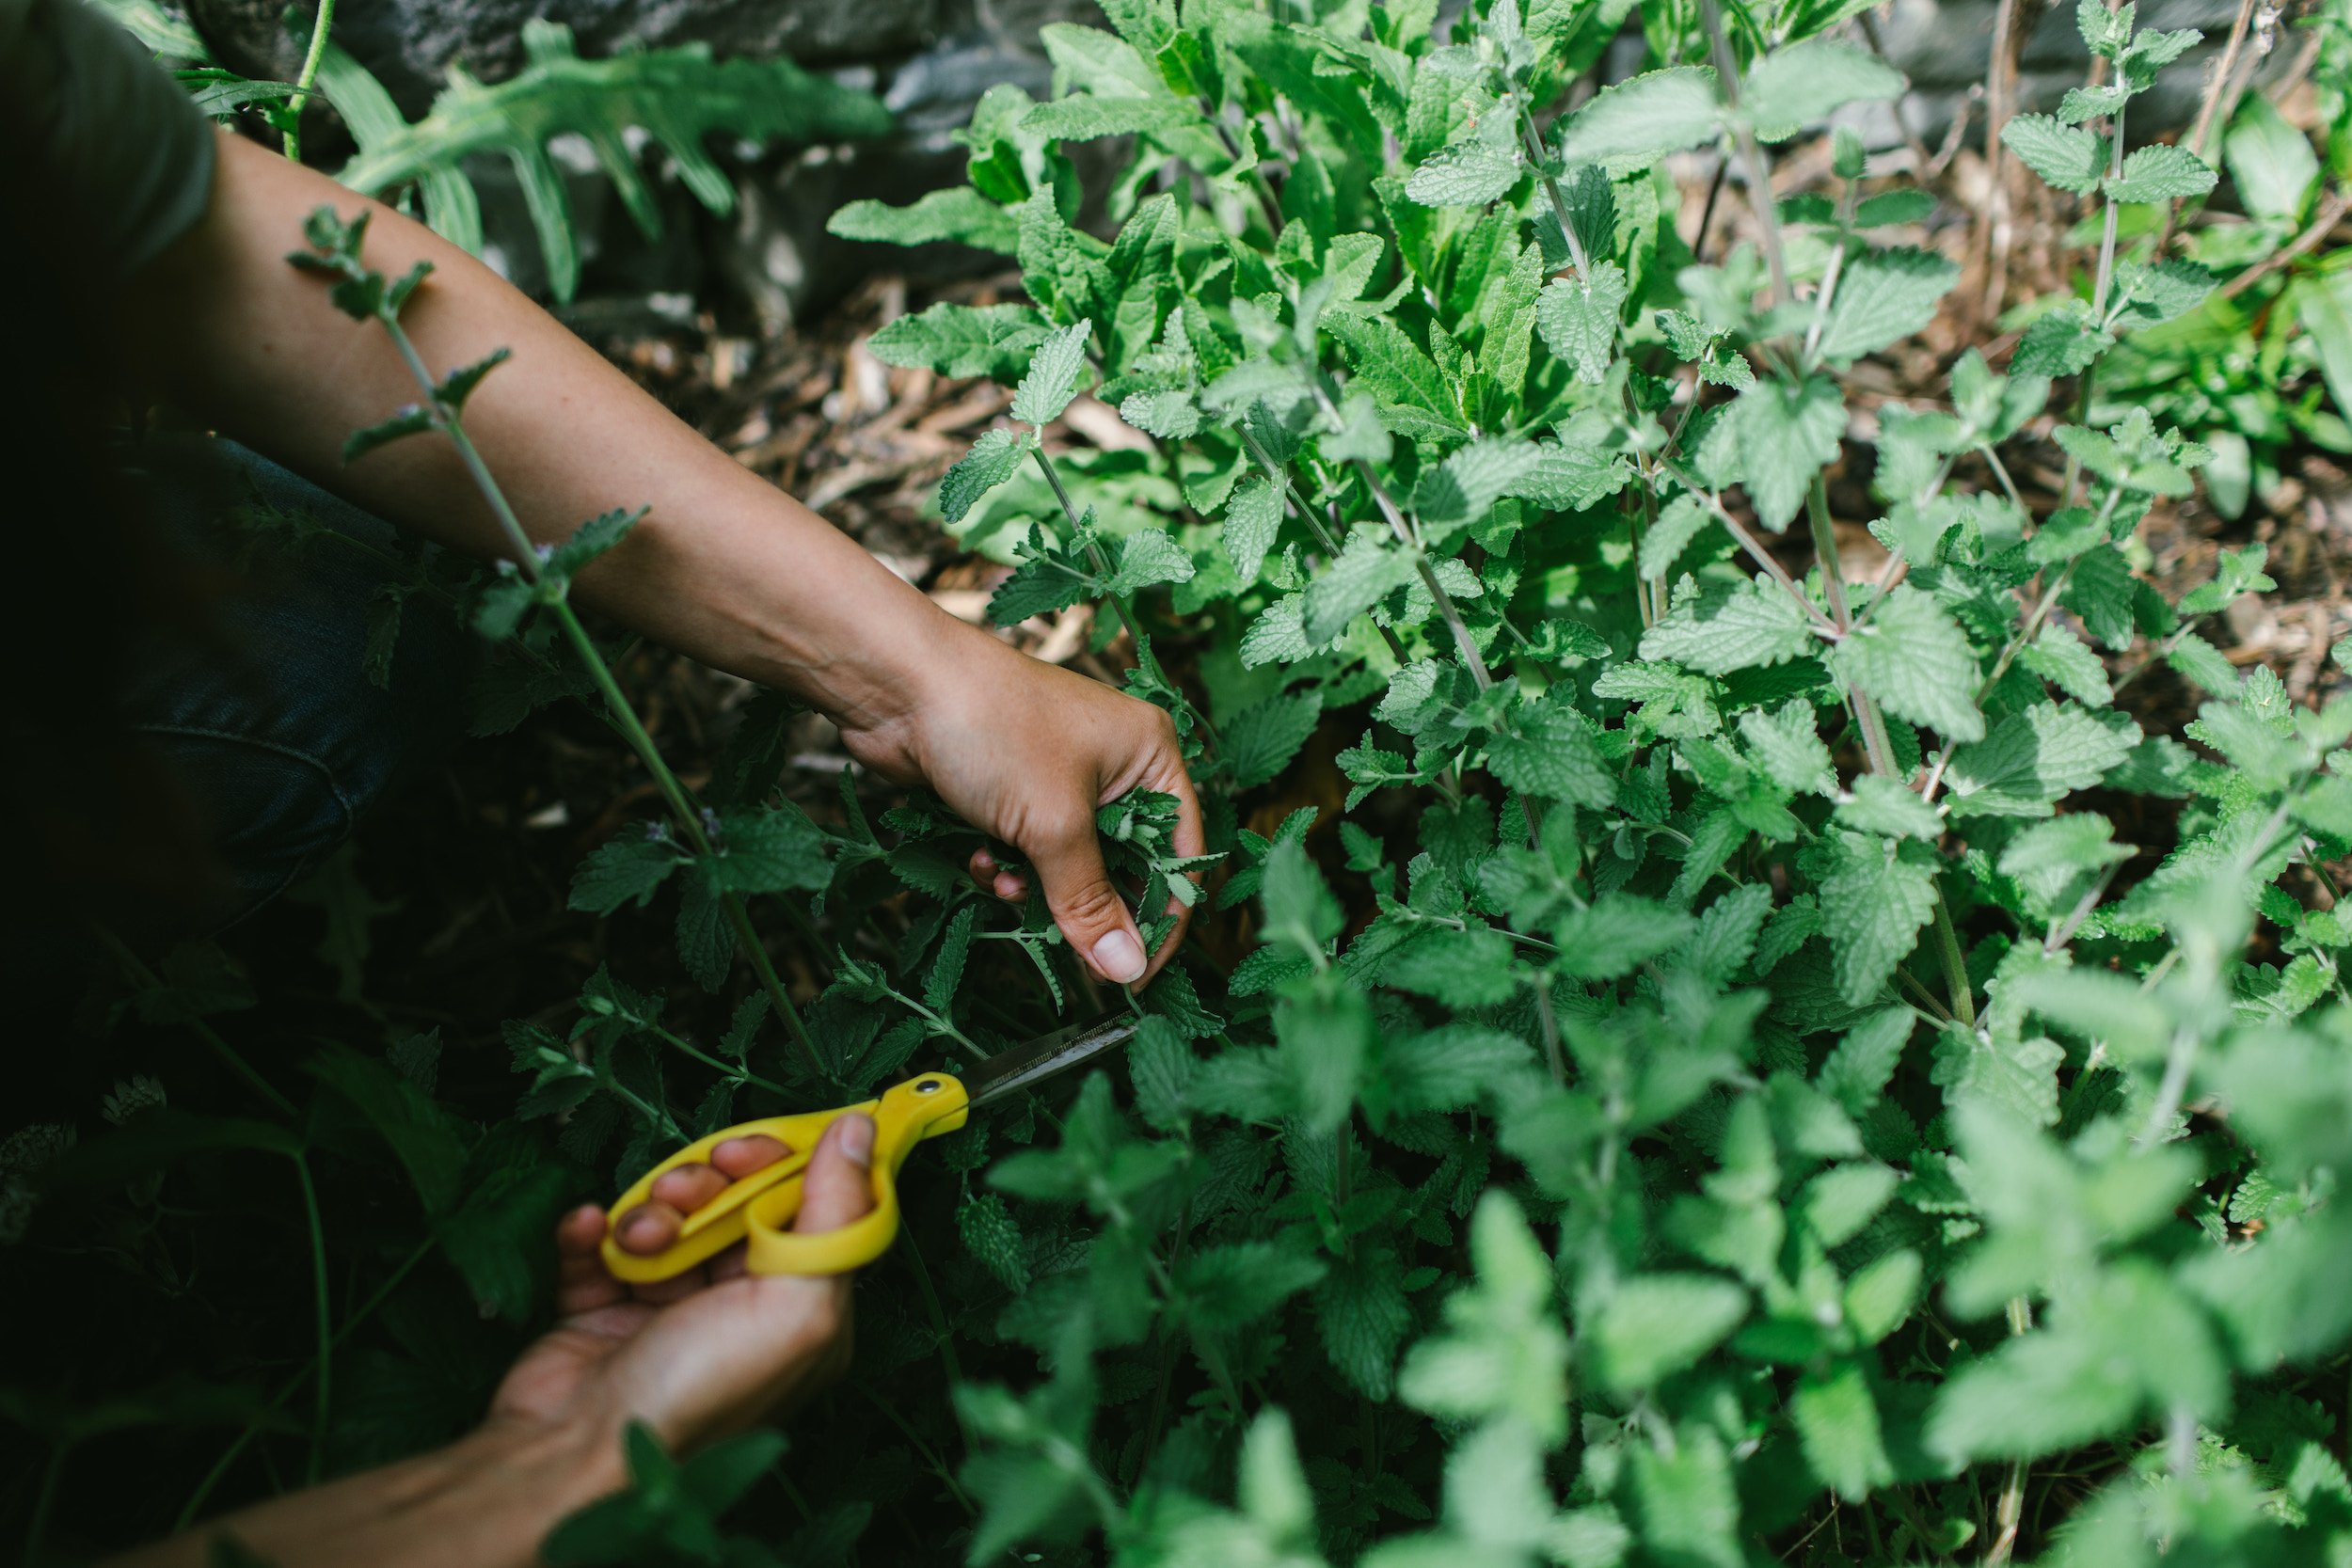
Nepeta (pictured below)
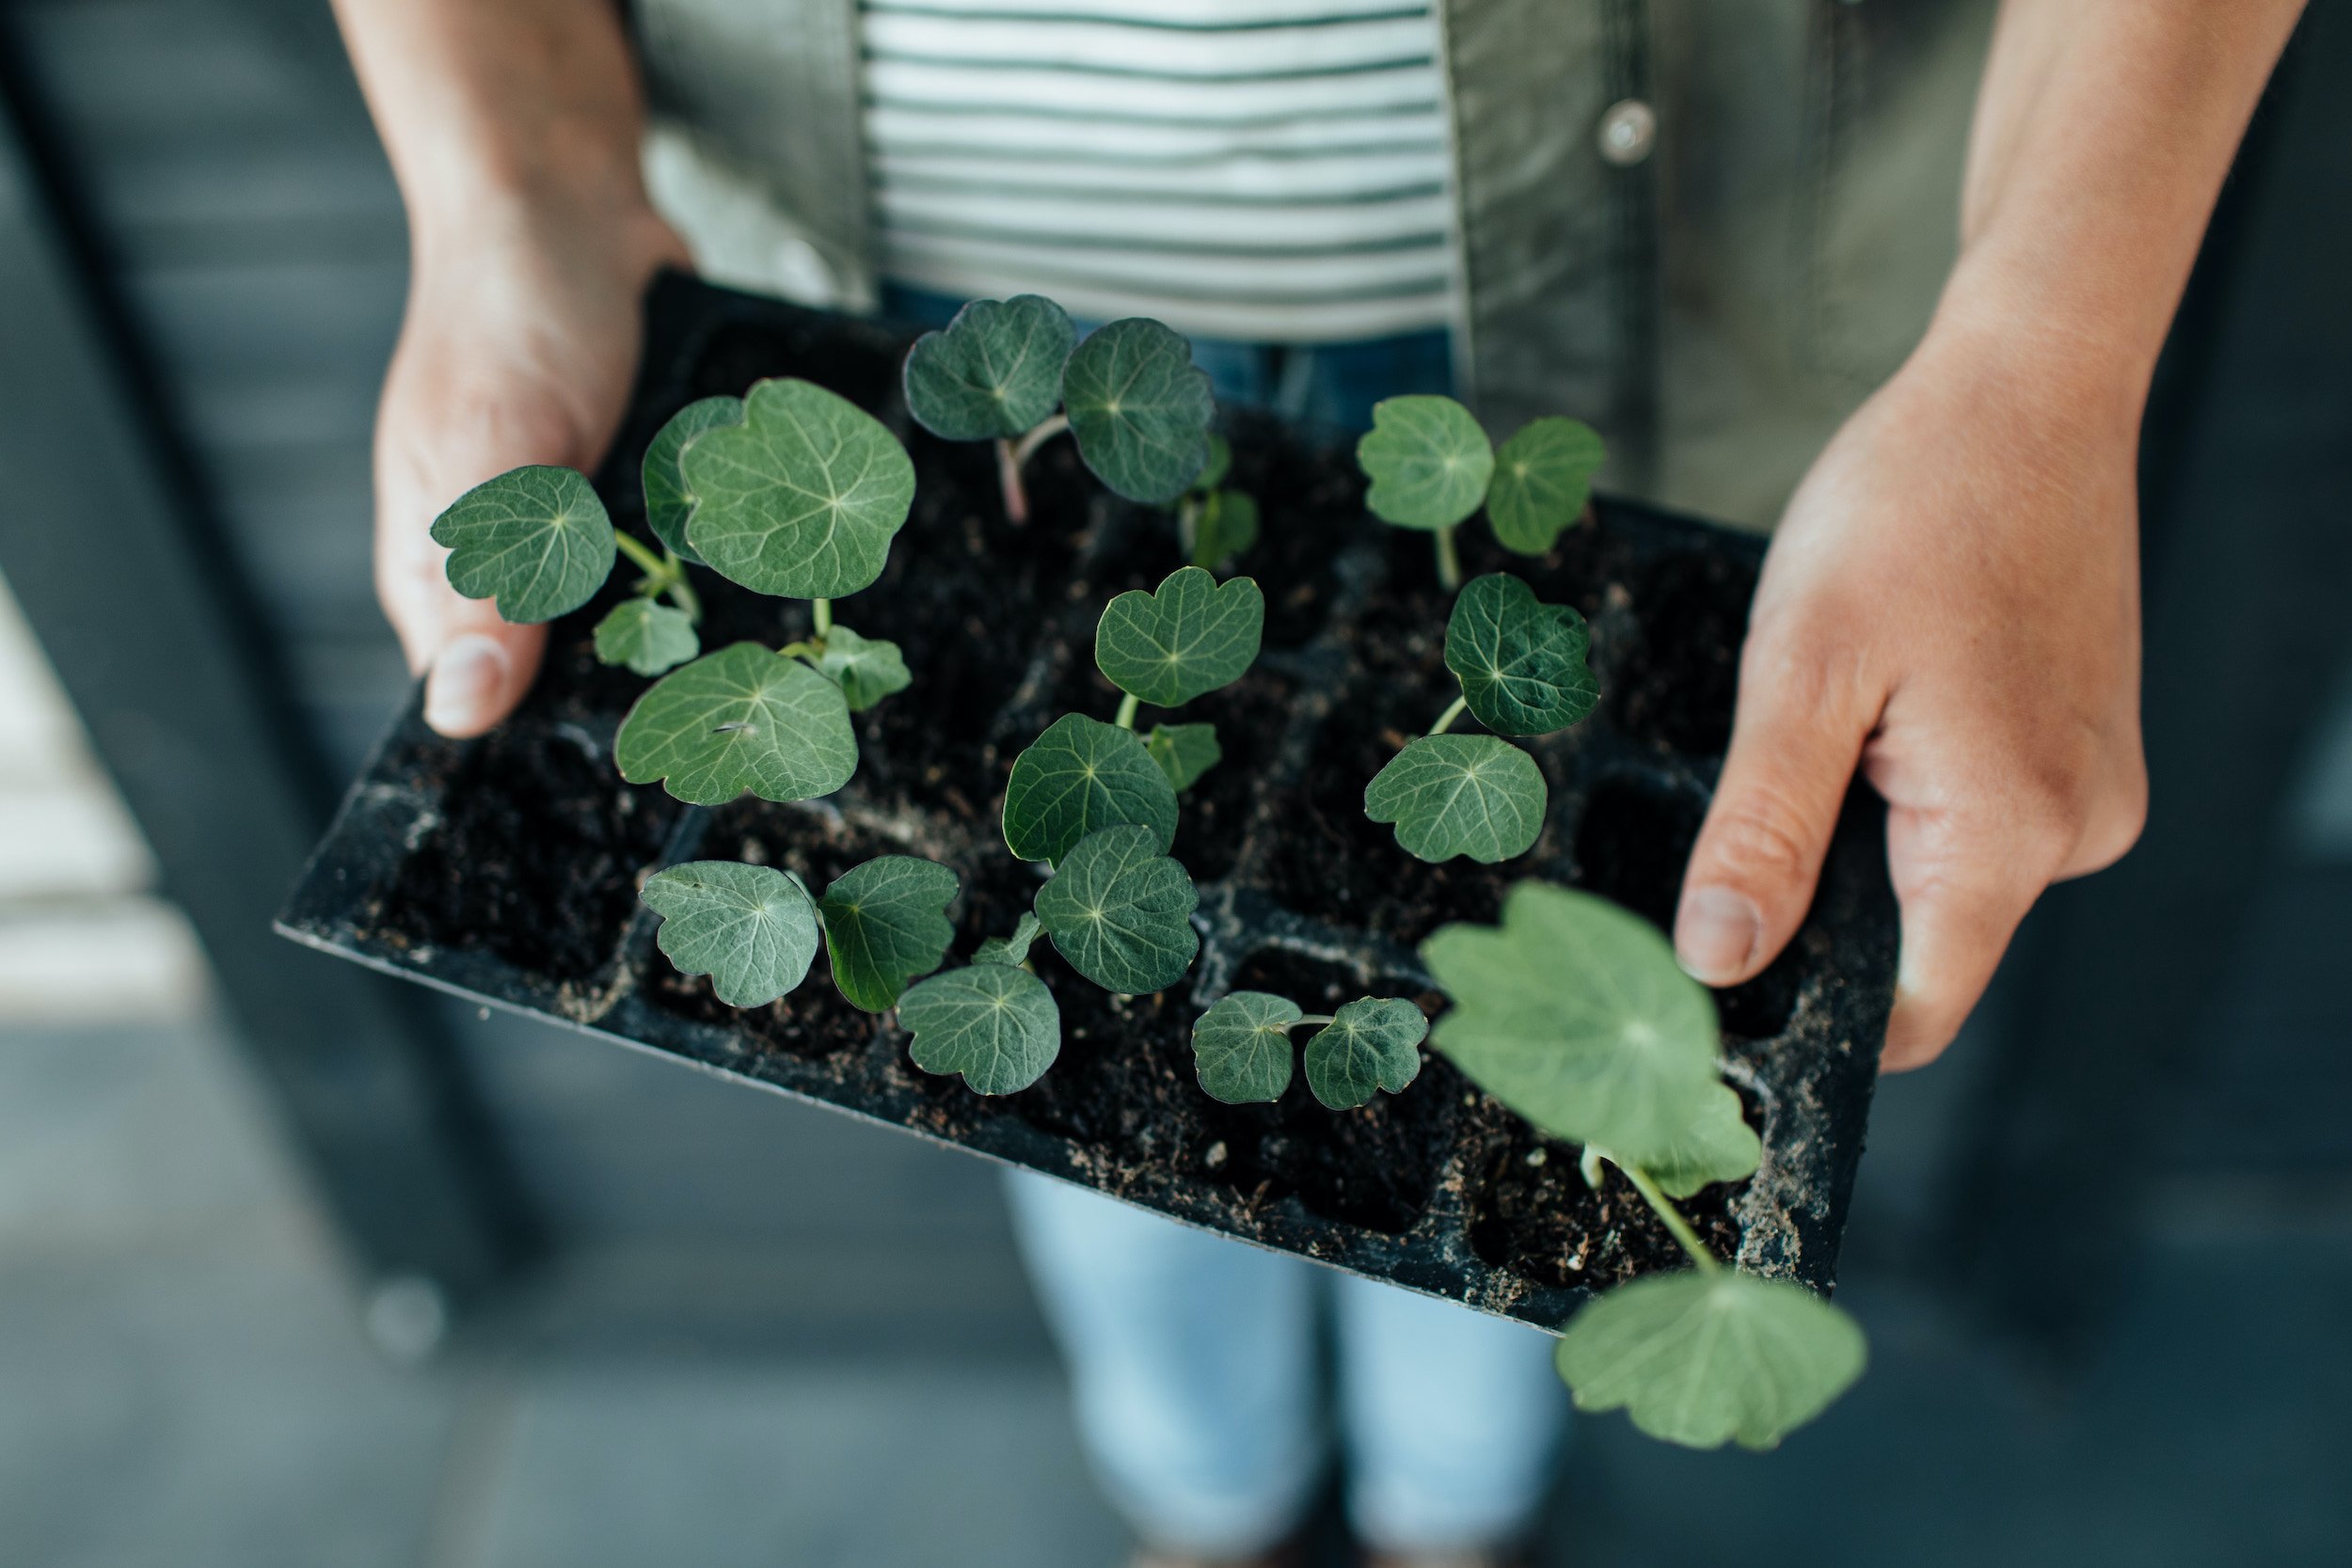
Pachysandra (pictured at the top of the post)
Verbena
Lots of houseplants, such as Tradescantia, figs, and peperomia
But rather than getting too bogged down in reading long lists of which plants you can propagate in which ways, the easiest thing to do is just give it a go! If you see a plant you like the look of, snip off a bit of stem and try. The worst that happens is it doesn’t root, and that is that! You’ll soon start to learn which plants take and which don’t, and to recognise similar plants that might work well too.
How to take a cutting
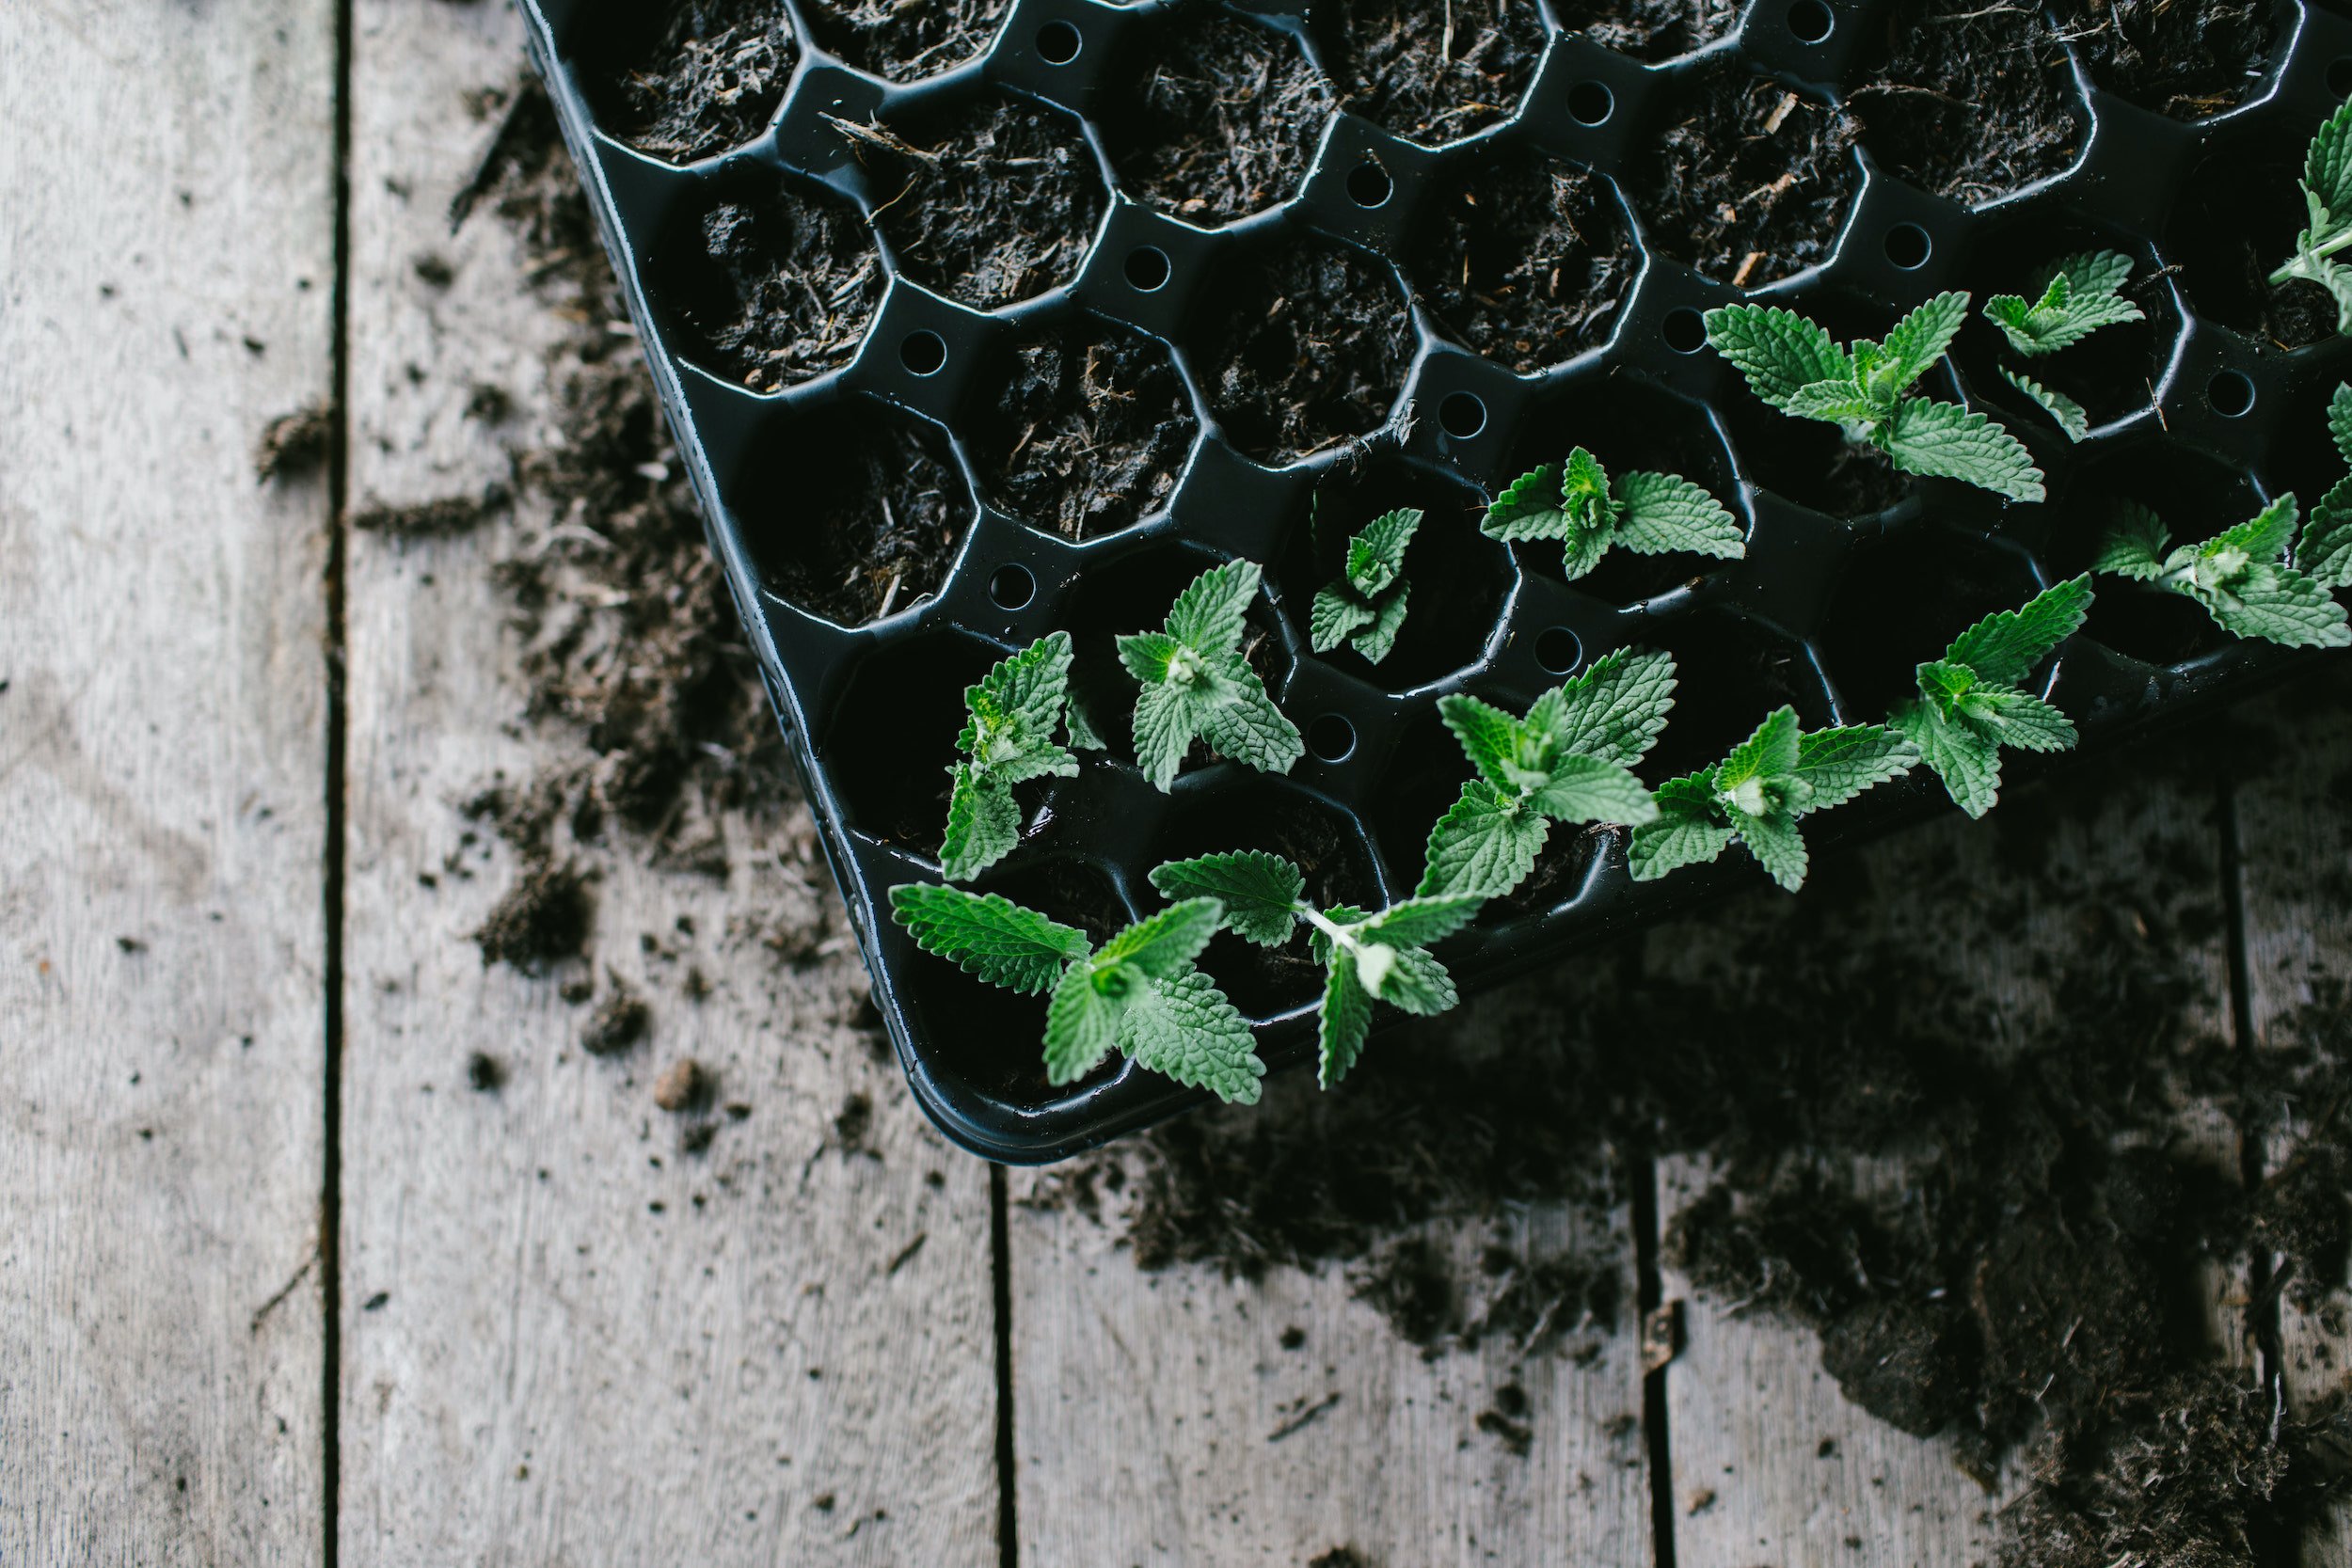
A tray of freshly planted Nepeta cuttings
There is a horticulturally approved, answer to this (which we’ll get to!) but a simple method usually works just well.
Spring is generally a great time to take cuttings, while the plant is in active growth and before it starts to flower. (If the plant is in flower, though, don’t worry, just cut the flower off the top before following the steps below… This means the plant can concentrate its energy on producing new roots instead of flowering.)
Snip off the end of a young stem (the greener stems tend to work faster on most plants, and this is known as a “soft wood” cutting), to a length of about 10cm long (no need to measure, this is just a guide!).
Remove the lower leaves of the stem, and stick the bottom of the stem into a pot filled with multi-purpose peat free compost. Water to keep the soil moist, put it in area with good light and wait to see if roots grow! To maximise your chances of success, it is a good idea to put a few (probably around 4-6) cuttings of the same plant into one pot. If they all root and start to grow enthusiastically, you can move individual plants into their own pots.
All of the above takes only a few minutes, and really nothing beats the sheer joy of chopping off a bit of plant, bunging it in a bit of compost and watching it magically grow roots and turn into a new plant!
If you’d like to maximise chances of success, here are some more detailed horticulturally approved methods that you can consider. (But if all this just sounds like too much, feel free to ignore it, and just go for the “cut-bung-watch” method above!)
Choose a parent plant from which to cut your stem that is healthy – check it doesn’t have any pests and diseases and is growing well
Take cuttings in the morning: this means the plant you’re cutting from is unlikely to be facing any water stress from the heat of the day
Place cuttings in a sealed plastic bag to keep them fresh until you use them (side note: we never do this, but haven’t often had problems of cuttings drying out!)
You can dip the cut ends of the stem into a “rooting hormone” which helps to promote root growth. This definitely does help if you’re taking a cutting from a plant that is harder to root, but again, we don’t use it!
Once the cutting is in the compost, cover your pot with a plastic bag to keep the air around the cutting humid. This helps reduce transpiration from the leaf, so the cutting is less likely to wilt while it is growing roots.
“Bottom heat” helps to promote root growth in cuttings. If you get really into it, you can buy heated propagators, which have lids to enclose the cuttings and heating at the bottom, which helps roots to grow faster. These can definitely help your cuttings to take faster and are great for plants that are slow / unwilling to root without help. However, you absolutely don’t need these to start out…
More info
There is so much more you can learn about cuttings if you get the bug. Carol Klein’s book Grow your own garden is full of useful info and advice, all written in a simple to understand way.
If you’re interested in cuttings of houseplants, then Root, Nurture, Grow from Caro Langton and Rose Ray AKA Instagram faves Studio Ro Co has lots of information for individual houseplants.


