How to: harden off plants
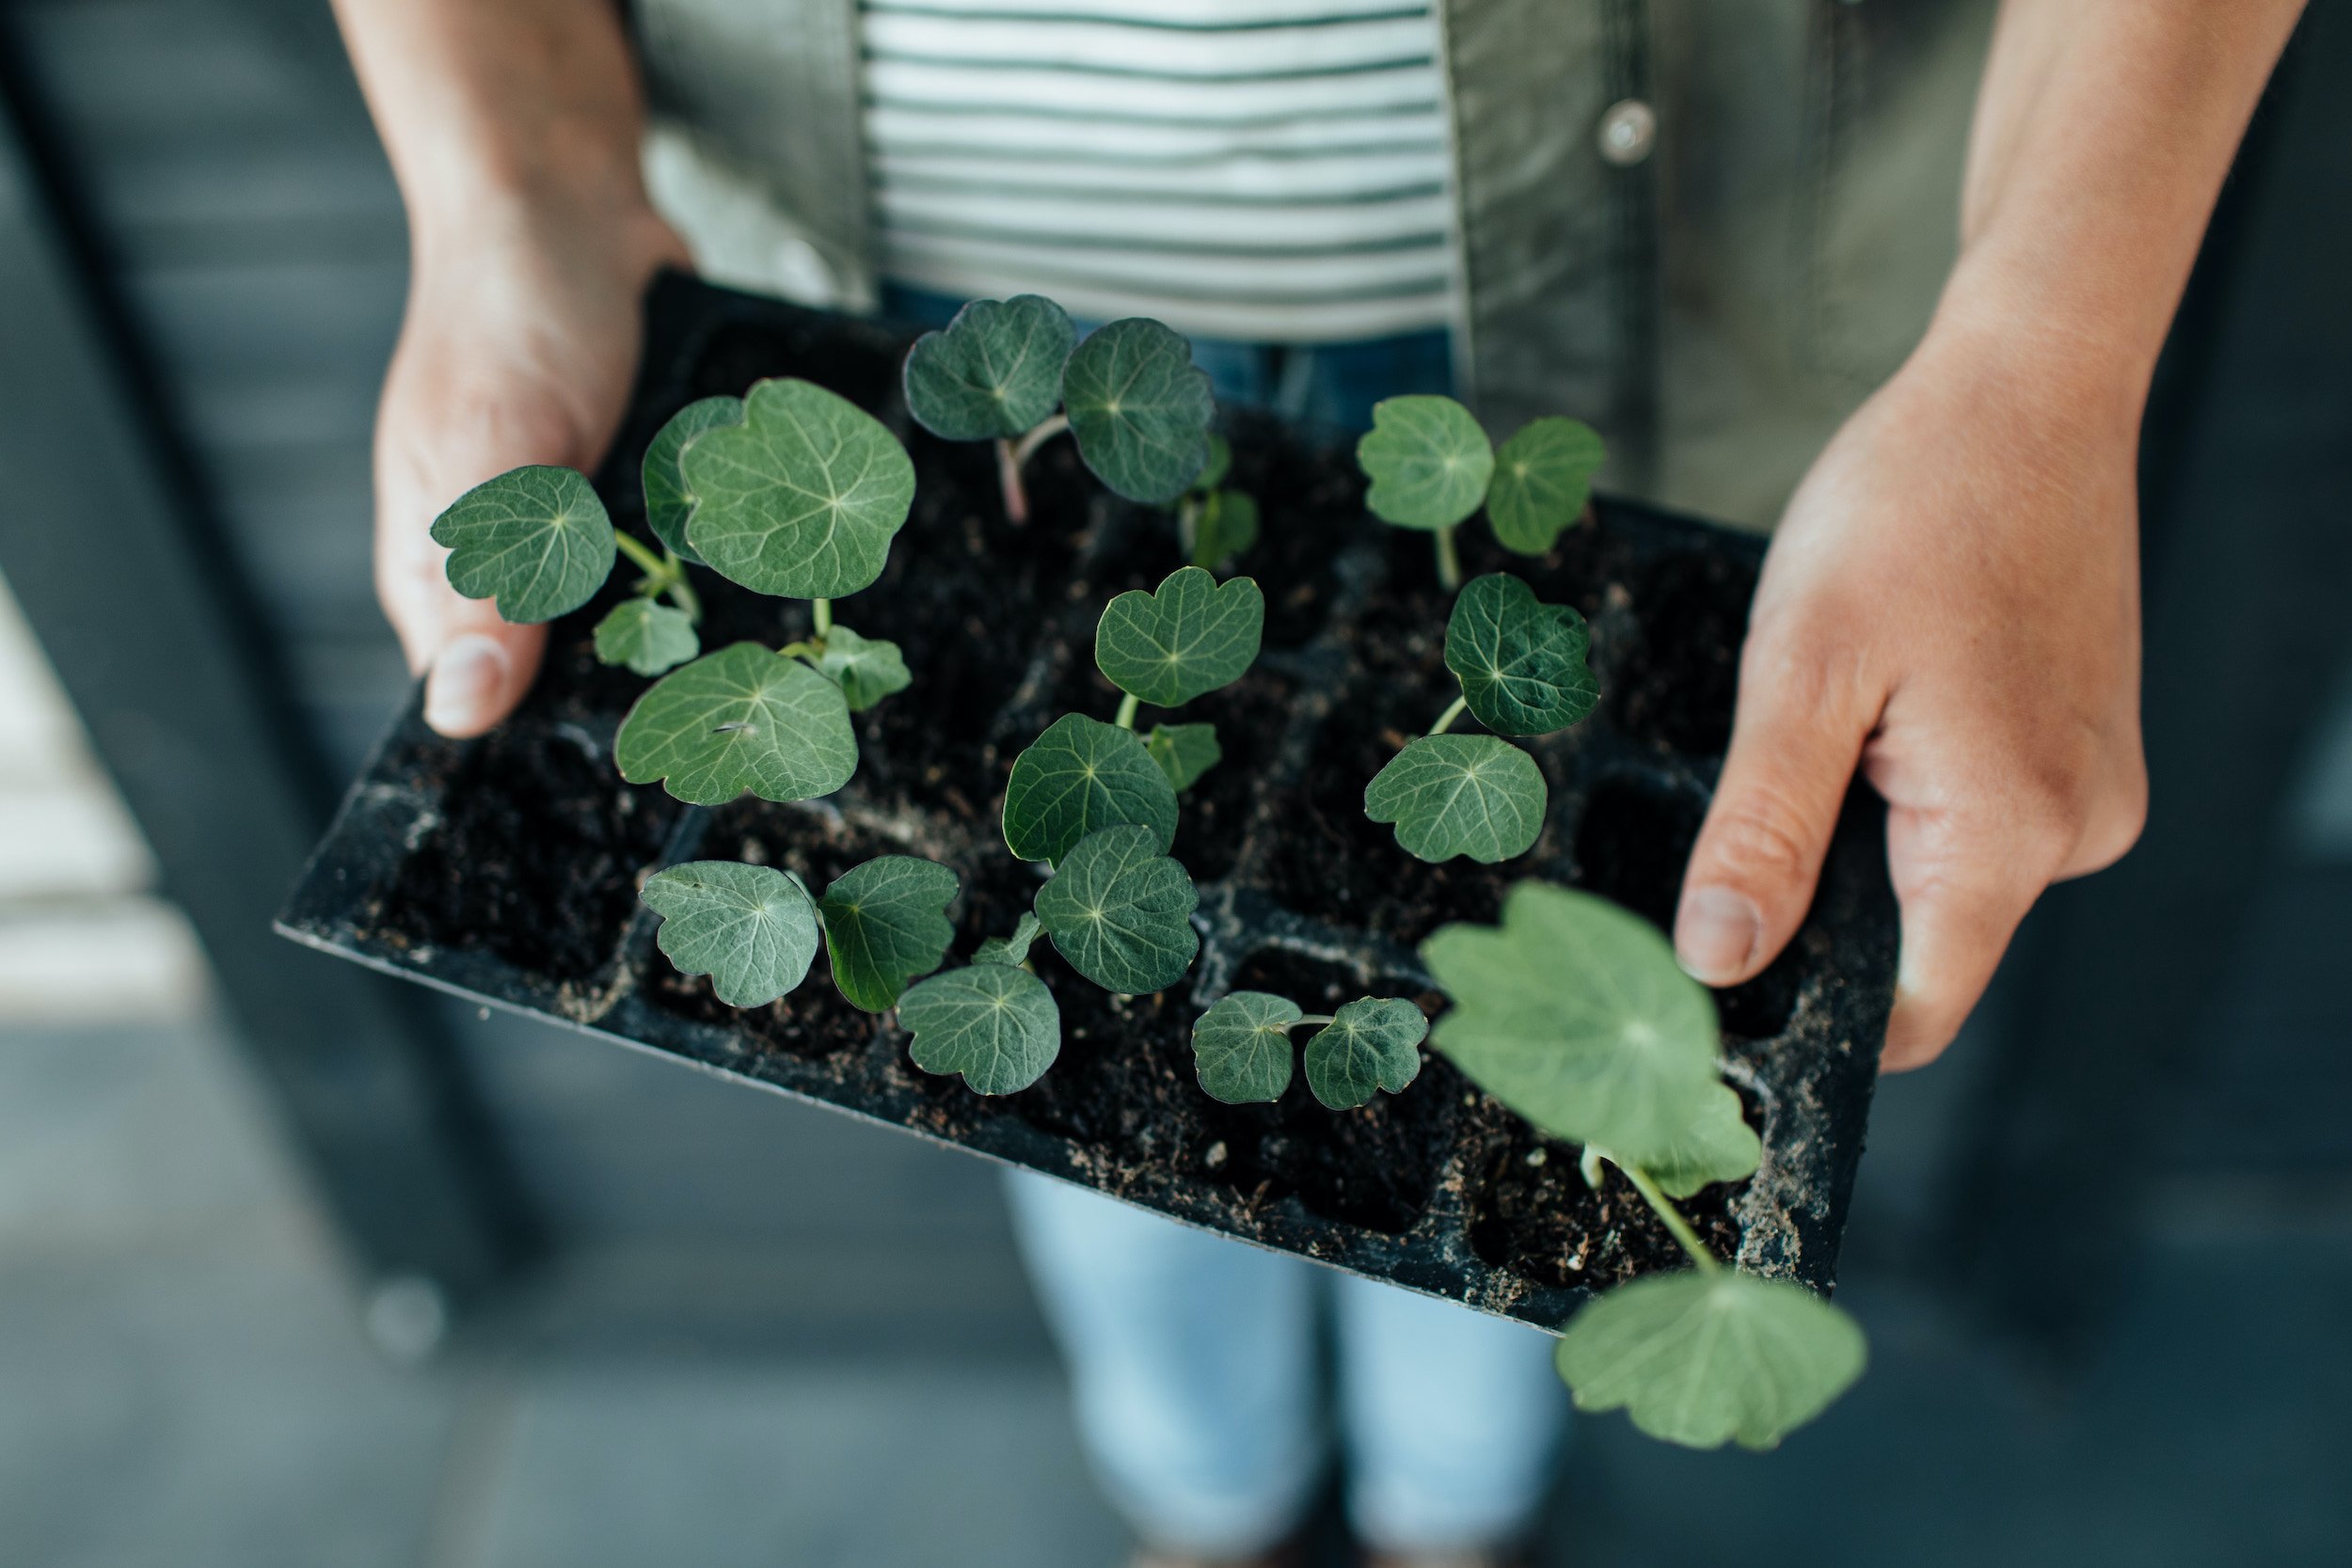
If you’ve germinated seedlings indoors, taken cuttings in a greenhouse, or brought any tender plants inside for the colder months of the year, they’ll need to be slowly acclimatised to conditions outside before they’re put back permanently in the garden.
This process is known as “hardening off” and it does exactly what it sounds like – makes the plant a bit hardier to the outside conditions.
Plants can be delicate things, sometimes, and though it can be tempting to just stick them back outside once the last frosts have passed, the sudden change in temperature, humidity and air movement can be too much of a shock for them and can cause them to stop growing for a while.
Hardening off gives a plant a good period of time to get used to all the new conditions, preventing any sudden shocks and encouraging it to keep on growing happily and healthily…
Which plants need hardening off?
In short, any plant that has been growing inside and is going to be put back outside.
This could be for a huge range of reasons: lots of seeds are first germinated inside, to get a start on the growing season, and the seedlings are then transplanted outside once conditions are more favourable.
Propagating, or growing new plants from parts of other plants, often takes place in a greenhouse or indoors, where the warmth encourages faster root growth. Once established, these plants might go back into the garden.
Houseplants are sometimes put outside for the summer months, or tender garden plants brought inside over the Winter…
How to “harden off”
The general principle of hardening off is to introduce the plant to the outside temperatures and conditions in a slower, more controlled way. Typically done over a fortnight, each step allows the plant to slowly acclimatise to the new surroundings.
A recommended hardening off schedule would typically look something like this:
For the first two or three days, put the plant into the garden during the daytime. Choose a spot that is sheltered, without any wind and that is not in direct midday sunlight (which could be too strong for a plant used to growing in the much shadier conditions inside) and also is not in complete shade. Leave the plant there during the daytime, and each night bring it back inside.
For the next stage, for another three days or so, leave the plant in the same spot in the garden during the day, but at night time move it to a closed cold frame.
Next, the same garden spot for the day time, but leaving the cold frame open at night, so that it is getting some of the colder night temperatures and winds.
Finally, for the last few days, you can move it into its final daytime position (wherever you want the plant to ultimately end up), moving it back to the open cold frame at night.
After this point, it should be fine to stay in its spot, day and night, and hardy enough to cope with its new permanent condition.
This whole process should take about a fortnight, and, as you may have spotted, does need both a cold frame and quite a lot of effort. If this all sounds like a little bit too much faff, then a shortcut option, which should also be pretty effective, is to just put the plant outside during the day and bring it inside again at night time for about a week. This is less robust and if you were unlucky enough to have a very cold night or a very hot day, your plant might start to feel a little bit stressed out, but – most of the time – this slightly easier option should be just fine! (And is definitely better than just plonking a plant outside one day and leaving it there…)
If you’re reintroducing tender plants to the garden, make sure you are doing so after the last frost has passed, and do keep an eye on the weather for the first few weeks. If an especially cold night is forecast, it can help to wrap the pot in fleece to provide a bit of extra protection.
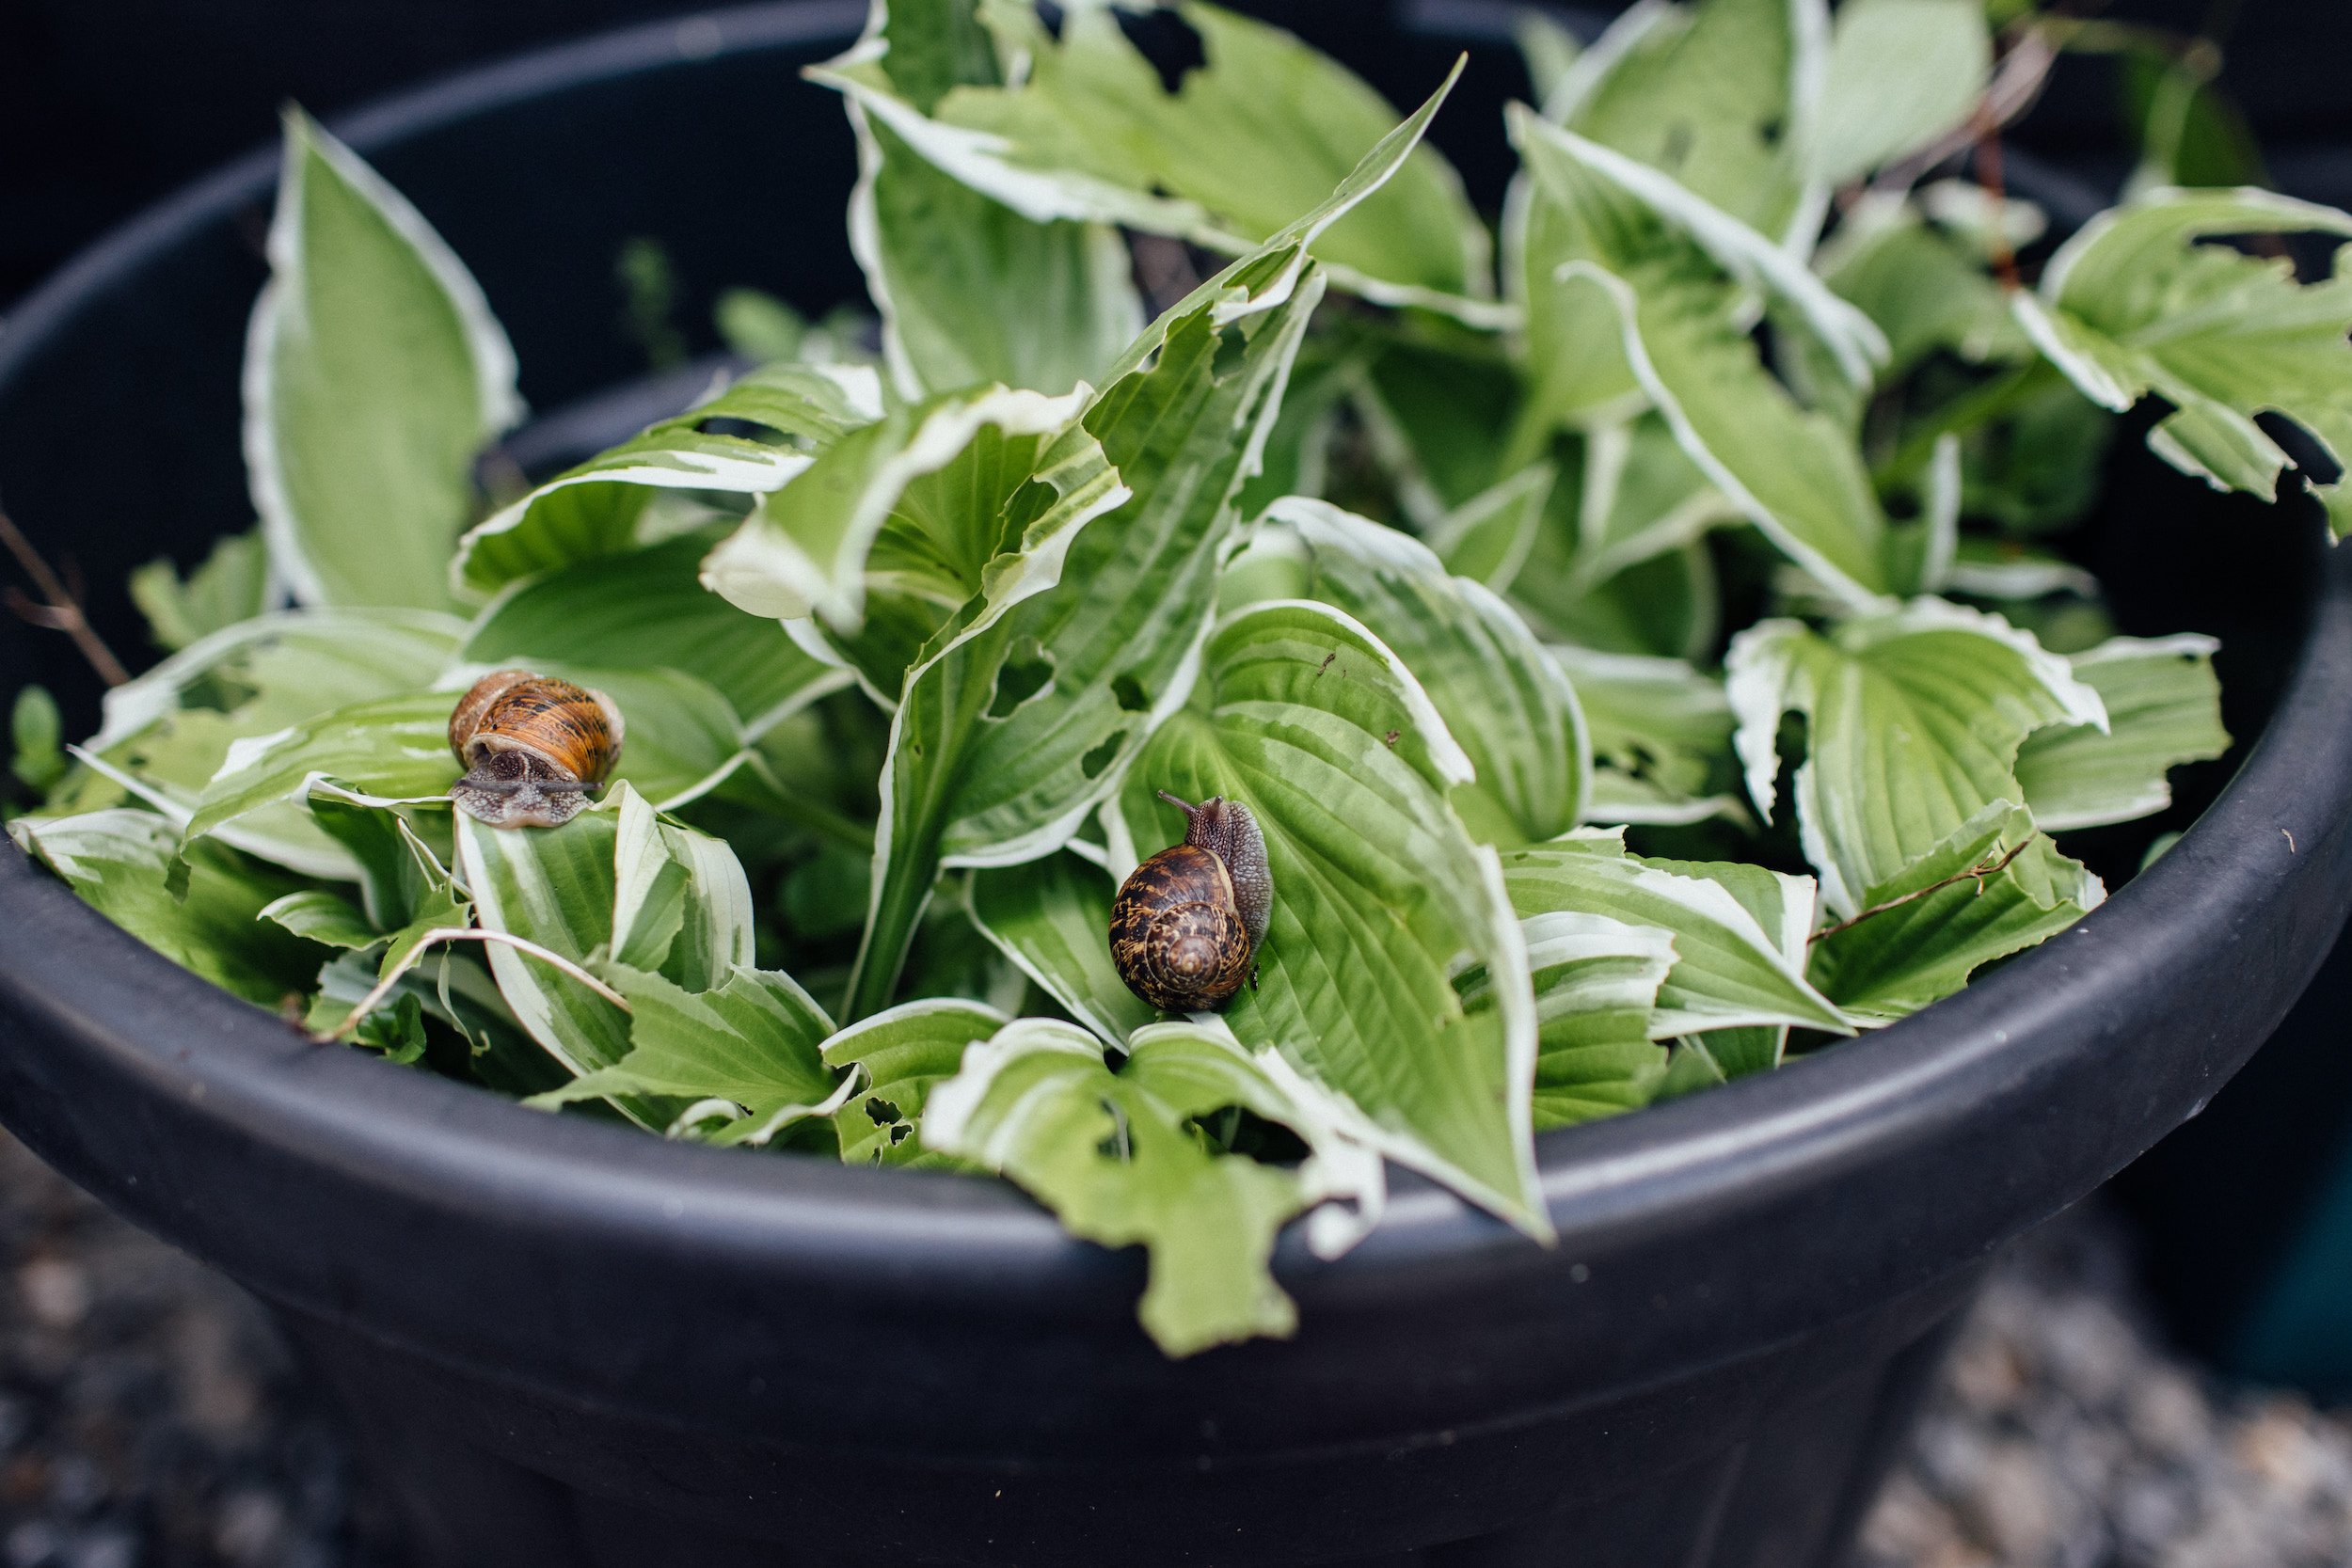
Plants coming fresh to the garden are often appealingly green and soft to slugs and snails, so protect against these as well. (See our guide how to protect plants from slugs and snails for more info on this…)


